CI/CD for iOS projects using Semaphore CI
Continuous integration and delivery using Semaphore CI
Continuous integration and delivery using Semaphore CI

CD/CI can help developers ship with more confidence. Semaphore CI is one of the fastest tools out there that can help you achieve just that. Discover how.
Continuous integration and continuous delivery can help developers ship with more confidence. Semaphore CI is one of the fastest tools out there that can help you achieve just that.
Recently I stumbled upon Semaphore CI and I've surprised by how fast and easy it is to use, even on the free plan.
Of course, there are other tools I have tried such as Bitrise, TravisCI, CircleCI, or even in-house tools such as Jenkins that have a high level of flexibility but also come with high maintenance.
Semaphore CI is a CI/CD service that allows teams to build continuous integration pipelines. The promise is of removing that feeling of a bottleneck when you or any team member push some changes to your repository and wait for ages for your build to just start.
For other tools such as Travis, I've had to wait over an hour for my work to be queued and build. Before that build was even finished I normally had some new changes that were waiting in the pipeline.
After using Semaphore I can easily confirm that the waiting is history and boy do they deliver on that promise of being the fastest CI/CD tool on the market.
Once you connect Semaphore CI with your Github account setting up a workflow is quite simple. After that, you can just select a repository and a new project will be created for you.
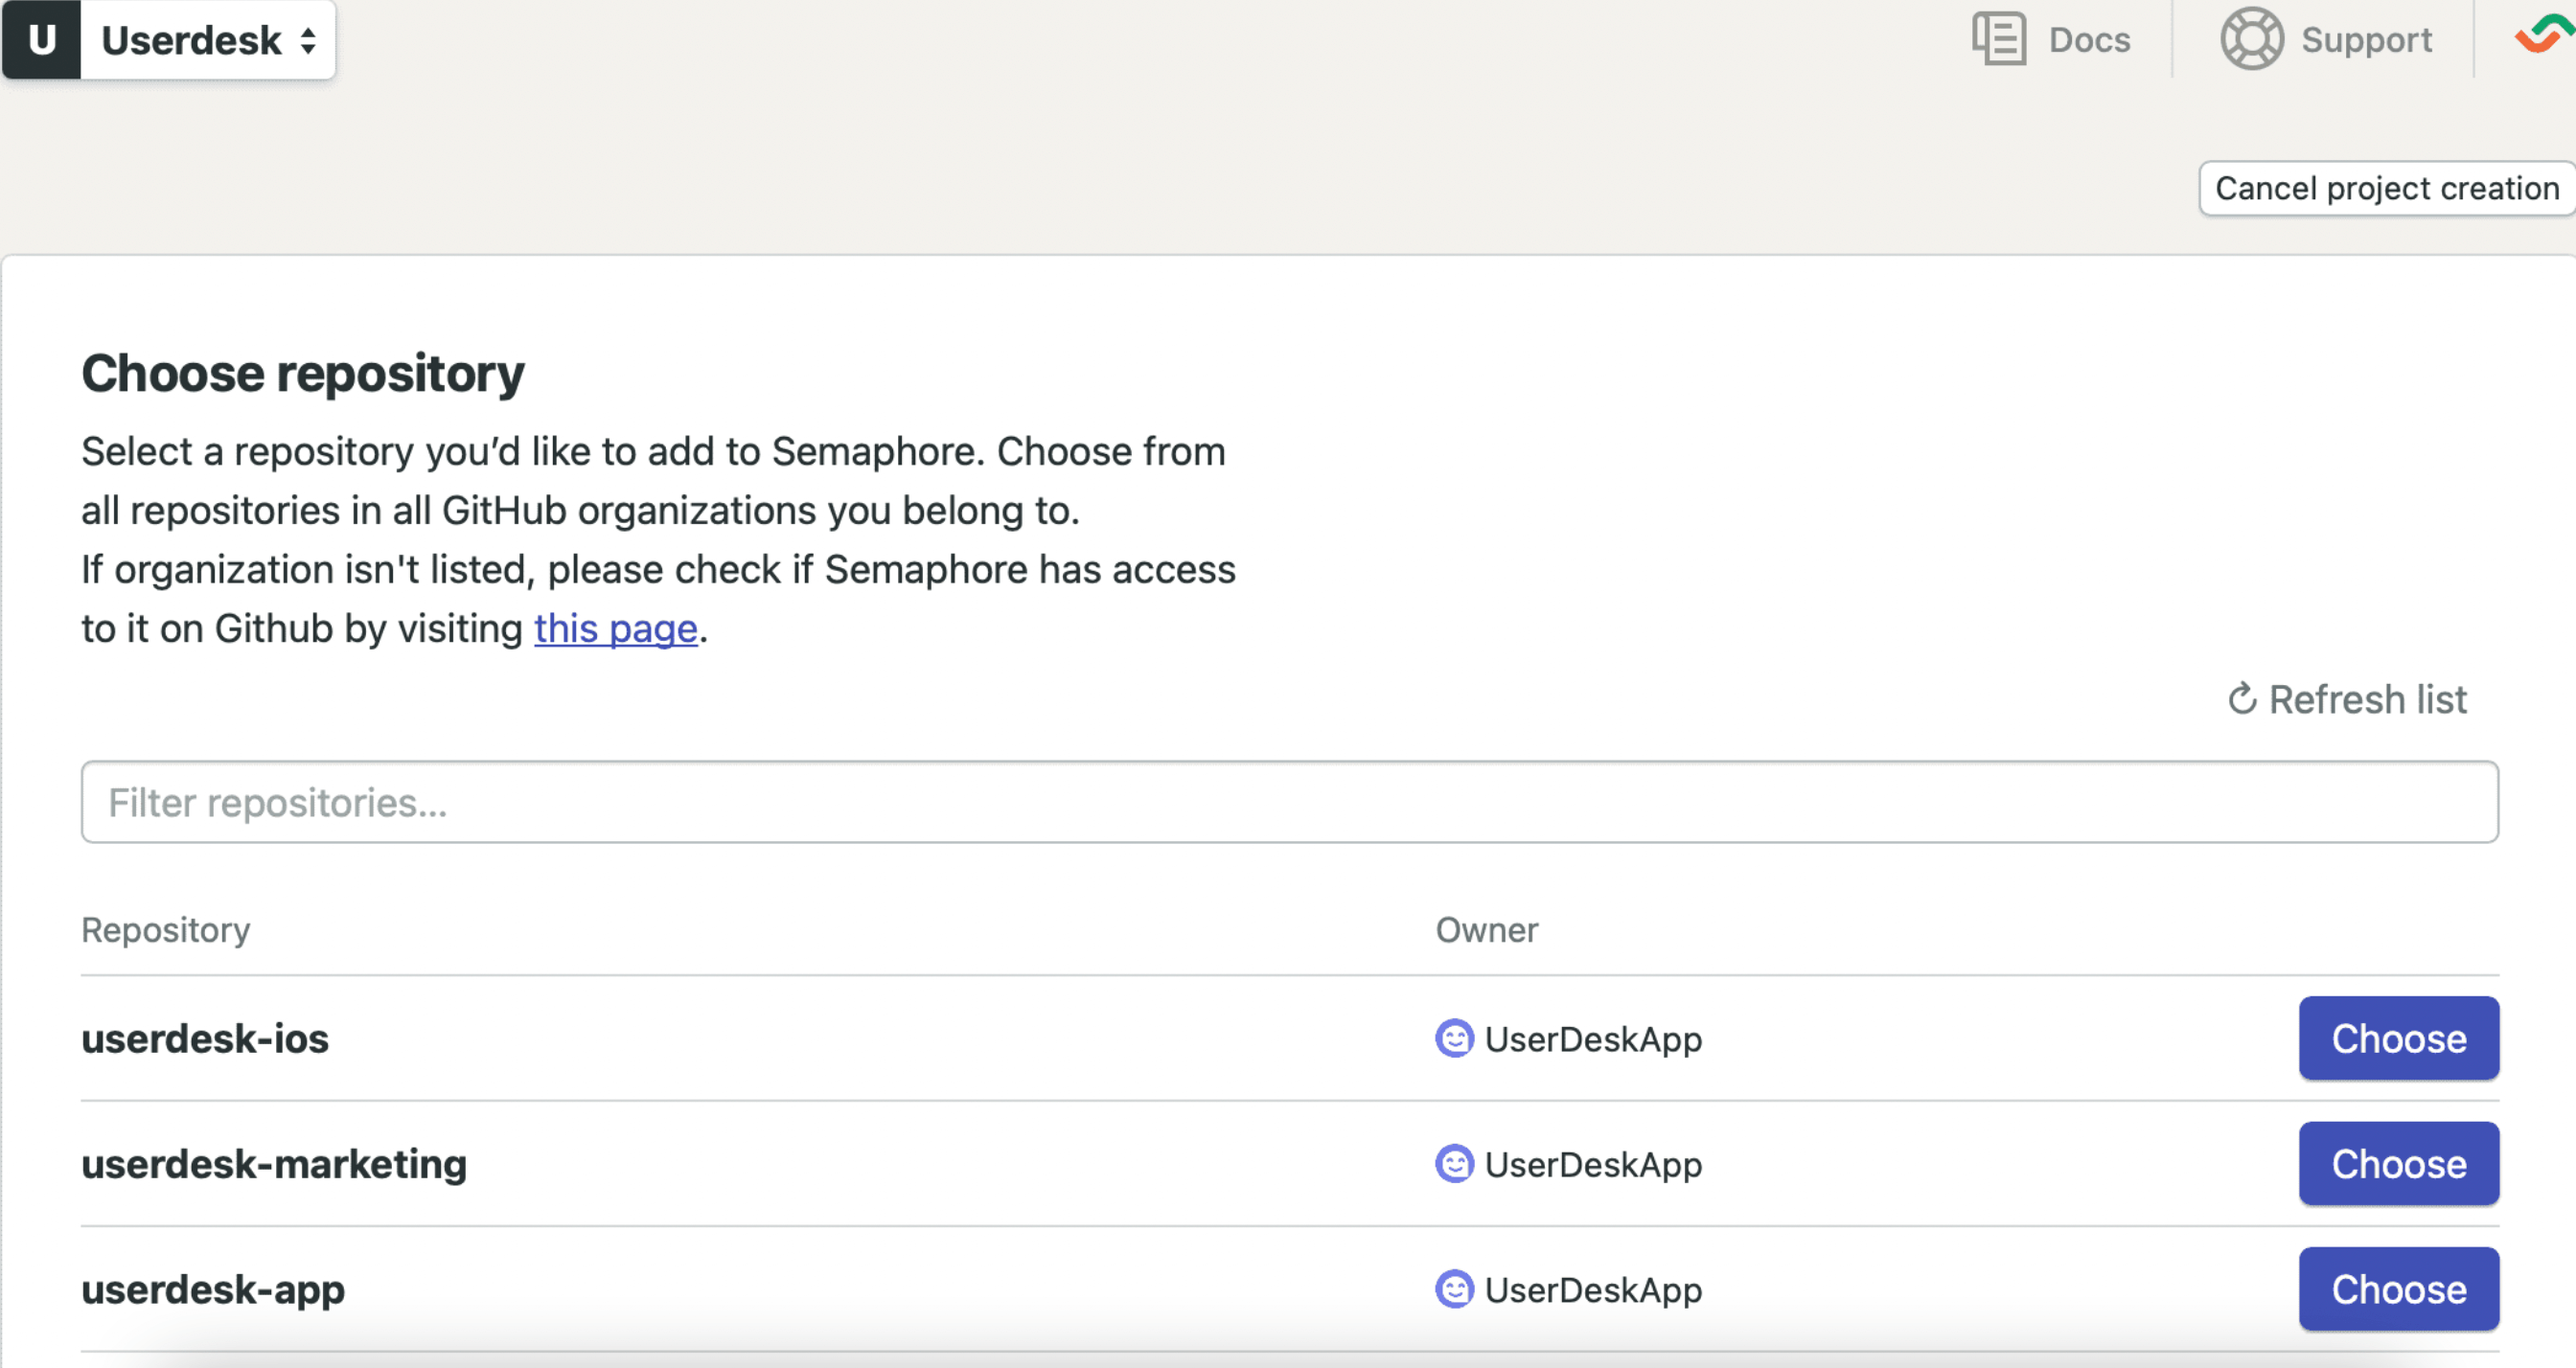
This will create a setup-semaphore branch in your repository with a .semaphore folder in it and a usual .yml file to handle the build machine and workflow configuration.
This I find to be the more appealing approach rather than the alternative of creating the folder and file yourself, as it tries to remove as much human error as possible.
After Semaphore CI finishes setting up your project, it is time to edit your first workflow.
In case your project relies on Cocoapods what you can do is create a job that installs its dependencies and runs your tests:
 1 checkout
 2 pod install
 3 xcodebuild -workspace UserDesk.xcworkspace -list
 4 xcodebuild test -scheme UserDesk -workspace UserDesk.xcworkspace -destination 'platform=iOS Simulator,name=iPhone 11 Pro'
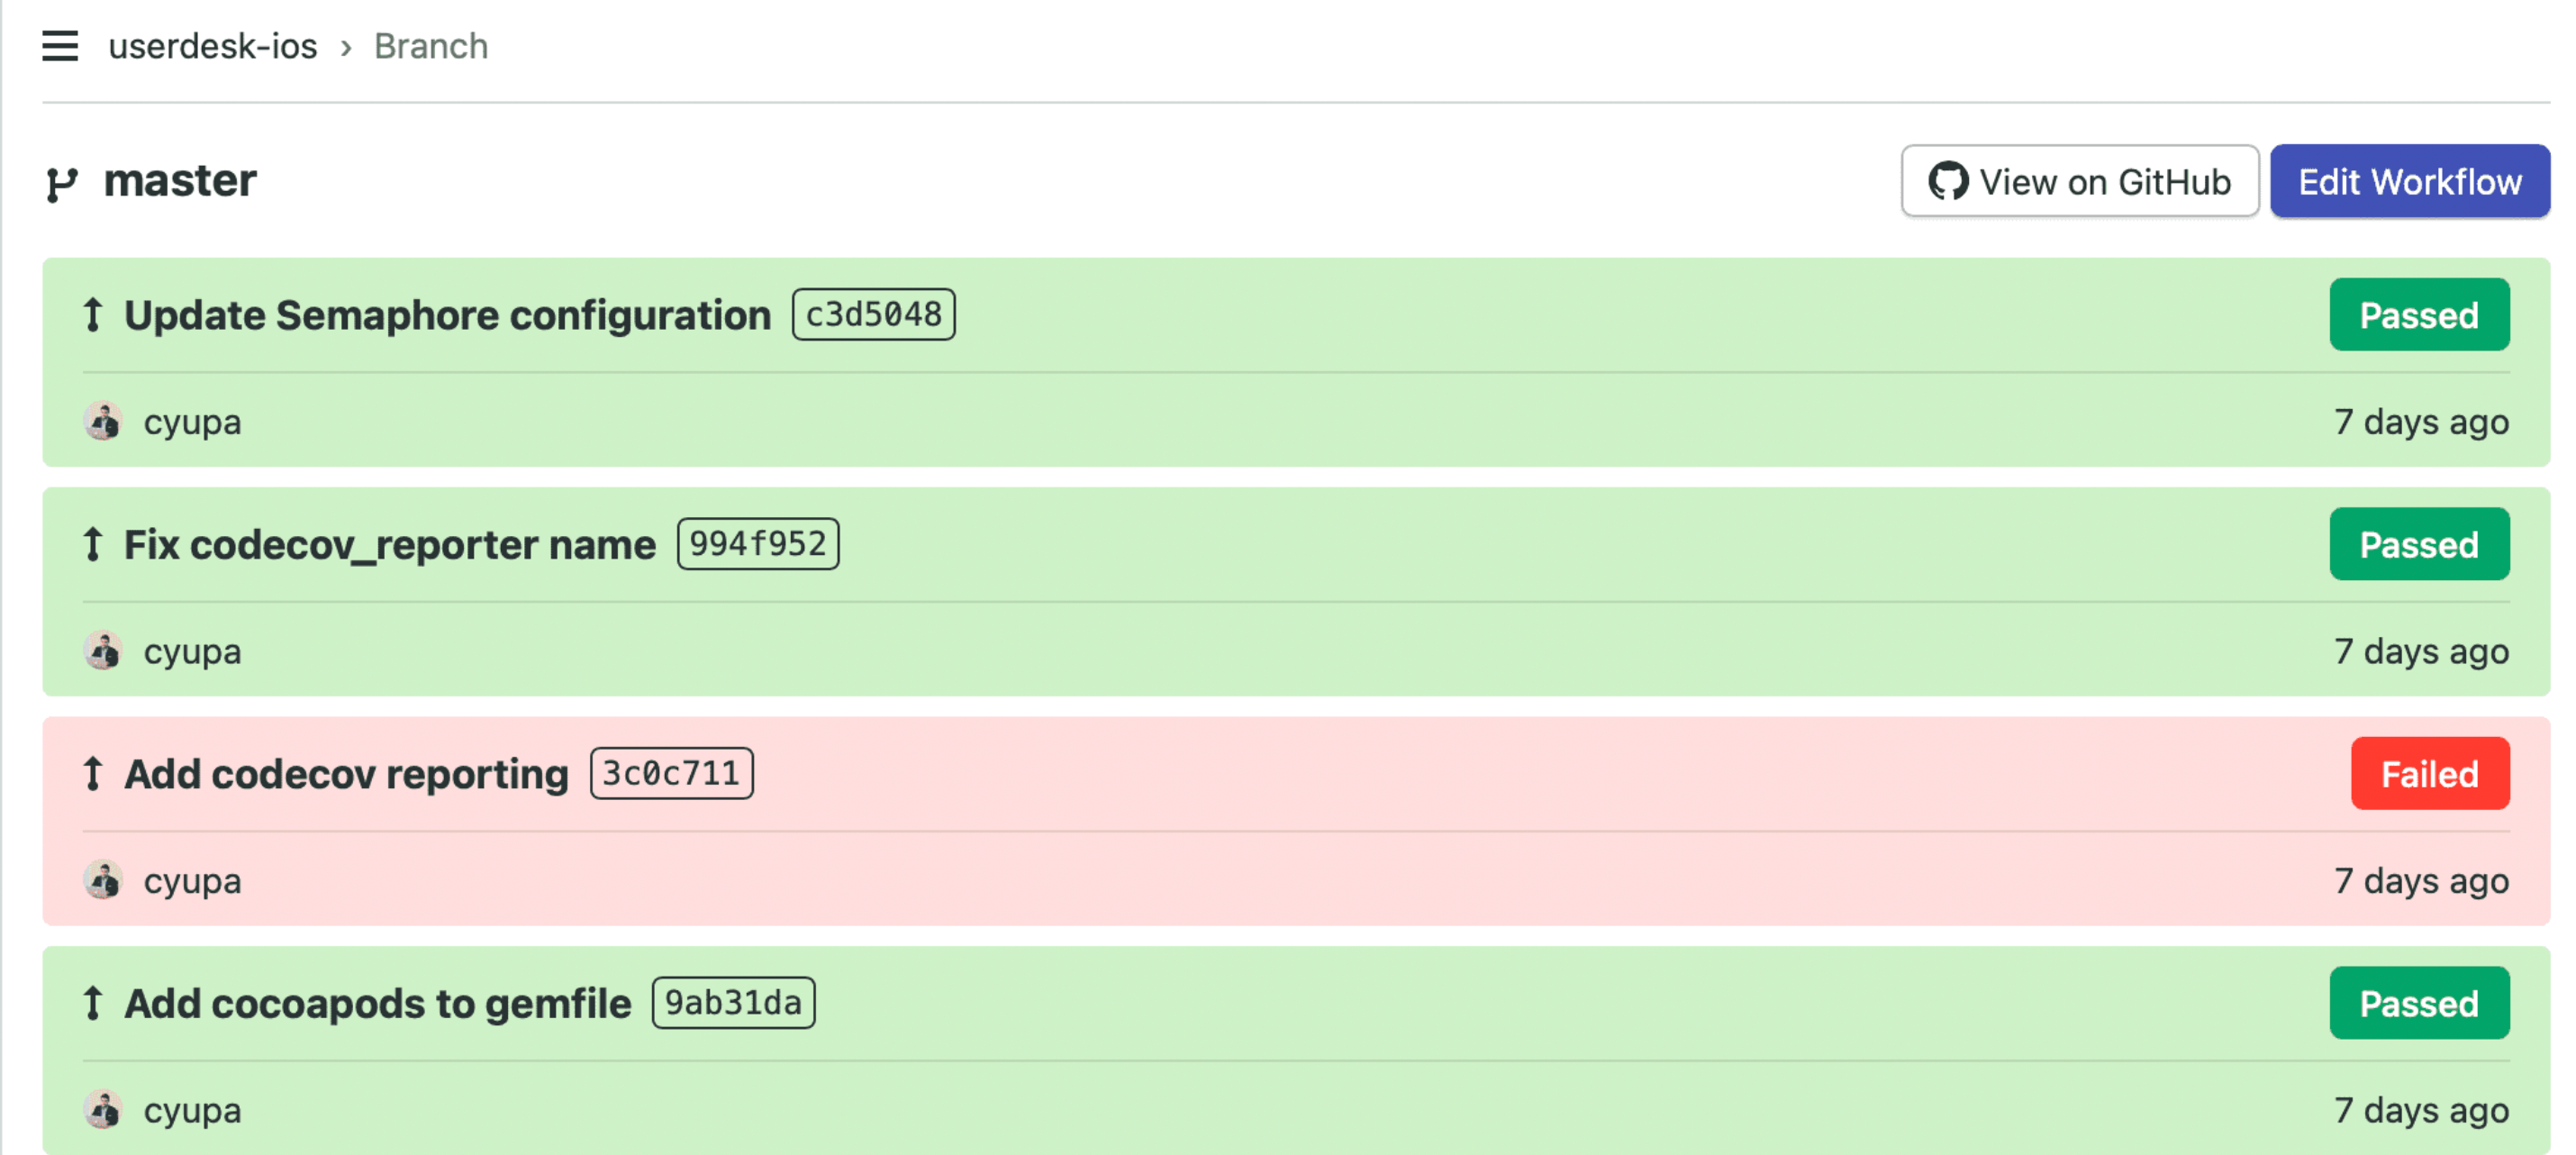
If you have written everything accordingly your build should pass and it should do that pretty fast. Once your build has succeeded, go into your Github repository and merge the setup-semaphore branch into your develop or master branch.
Although Semaphore CI is not a mobile dedicated CI service it does a pretty good job at covering the basics. They do provide decent build machines with 4 vCPUs and 8 GB of RAM or upon request, you can receive one with 8 vCPUs and 16 GB of RAM.
Projects can be built with Xcode 11 running on macOS Mojave that already have preinstalled tools such as Fastlane, Homebrew, CocoaPods, or Node.js and it integrates with services such as HockeyApp or TestFlight.
Because I think it's a good idea to use dependencies with the same version on both your development machine and your build machine I decided to set up Fastlane for my project using gems installed via bundler. For more information on how to set up Fastlane for your project be sure to follow my article - Continuous delivery for iOS applications using Jenkins and Fastlane.
This project uses both Fastlane and CocoaPods and also some Fastlane plugins such as fastlane-plugin-semaphore and fastlane-plugin-codecov_reporter for code coverage reporting. Thus the gemfile looks like this:
 1 source "https://rubygems.org"
 2
 3 gem "fastlane"
 4 gem "cocoapods"
 5
 6 plugins_path = File.join(File.dirname(__FILE__), './fastlane', 'Pluginfile')
 7 eval_gemfile(plugins_path) if File.exist?(plugins_path)
The fastfile just defines a single lane to run tests but you can definitely build more from here:
1 default_platform(:ios)
2
3 before_all do
4 # Install with `fastlane add_plugin semaphore`
5 setup_semaphore
6 cocoapods
7 end
8
9 platform :ios do
10 desc 'Run tests'
11 lane :test do
12 scan
13 codecov_reporter
14 end
15 end
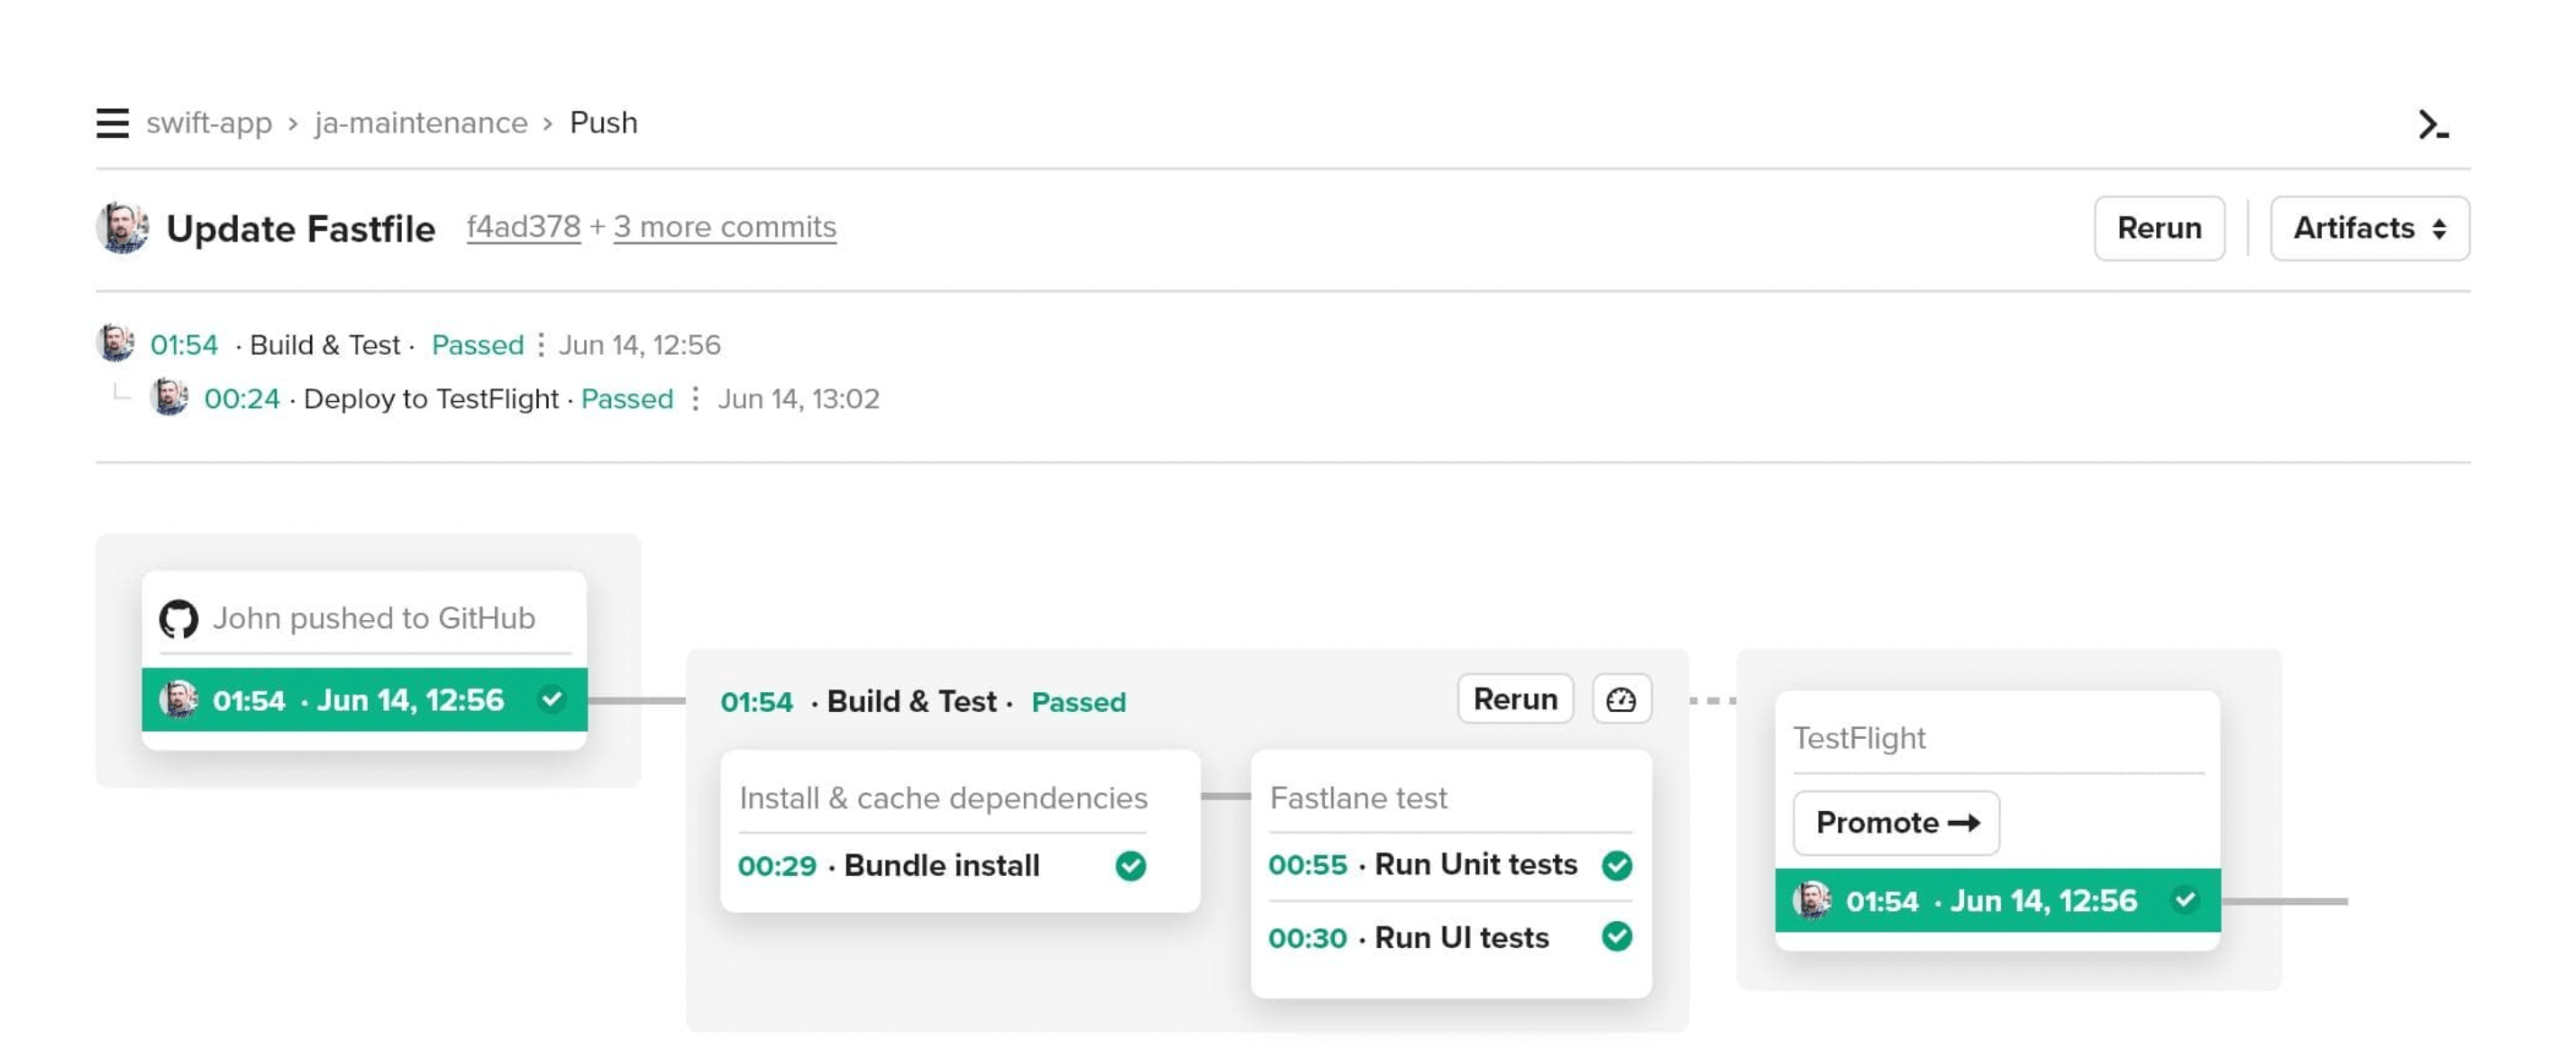
16 Now commit the Fastlane configuration to your master branch and just wait for the build to finish.
And that is it, you have successfully set up your project and can now ship incremental improvements to your project with confidence. Thanks to Semaphore CI you can do this at such a fast pace.
Hope you found this article on CI/CD for iOS projects using Semaphore CI useful and I hope it helps you optimize your work. For more updates be sure to follow me on Userdesk or on the OceanoBe blog. Follow more technical articles such as: Sending data in Swift using Combine, Repository pattern using Core Data and Swift or How to use async/await in Swift 5.5.